The first step to using On-site Elements is adding the installation script to your site. This script registers the web components and connects them to your merchant account. All elements depend on it, so it must be placed before any element tags on the page.
- A Kustom merchant account (Playground for testing, Production for live)
- Access to the Kustom Portal to get your installation script
- Log in to the Kustom Portal, keep in mind that you need to be logged in to the same environment that you want to use the elements in, the snippets are not interchangeable between environments.
- Go to the Elements section.
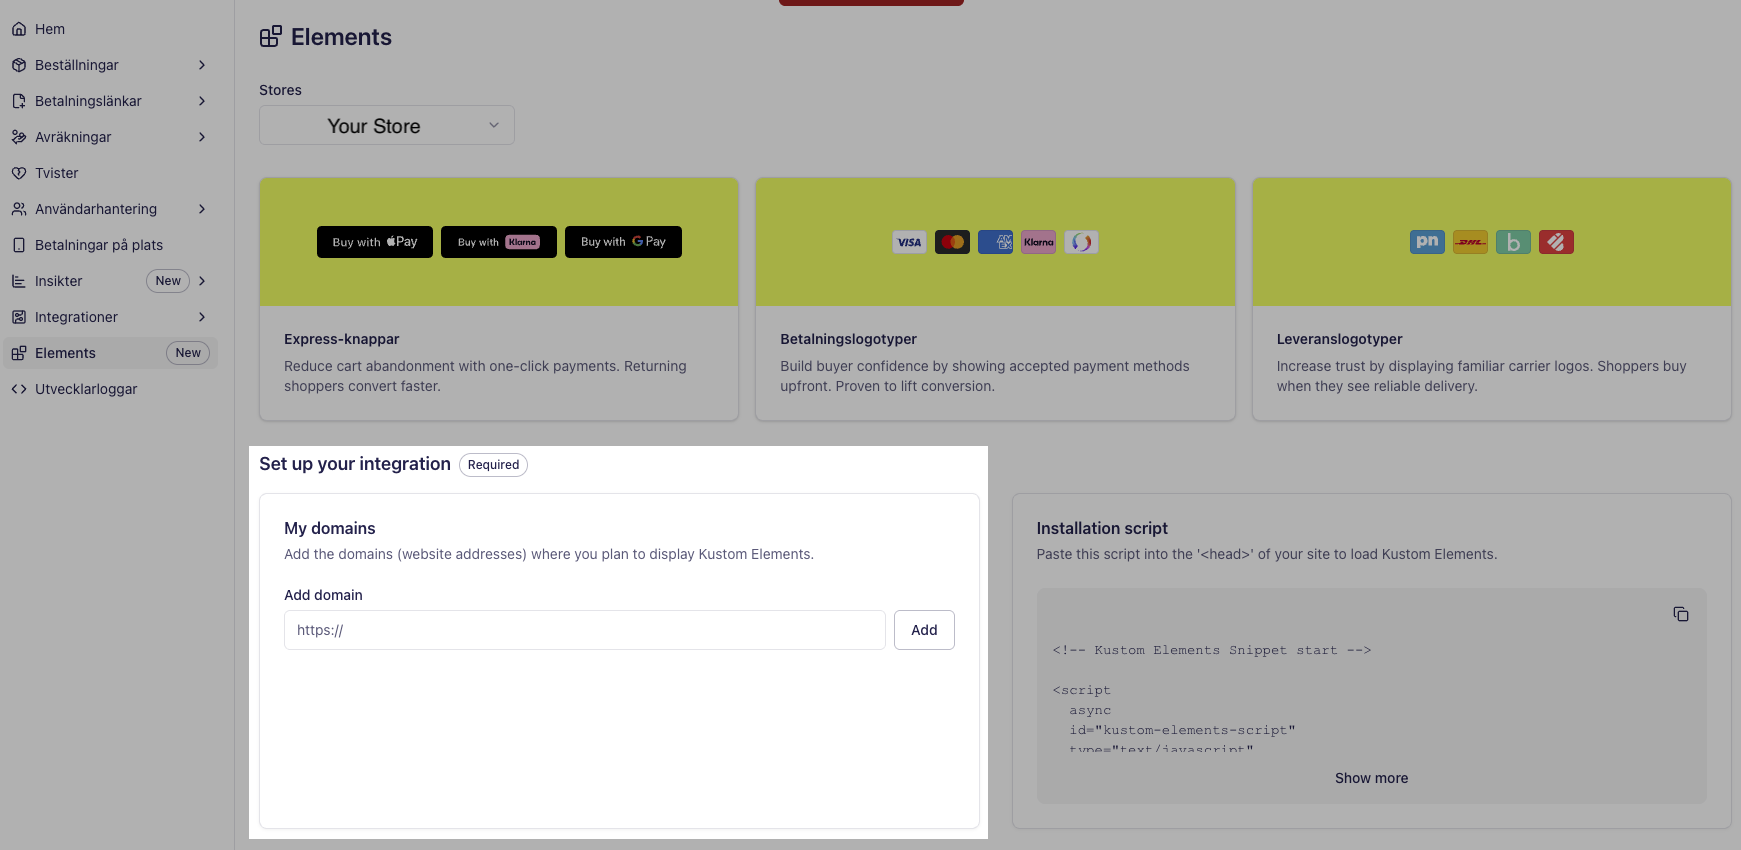
- You need to register the domains where your code will run.
- Copy the installation script and place it in your header.
Note: If you have more than one Merchant ID, be ware of tha the installation script includes a data-public-api-key that is uinque for your MID.
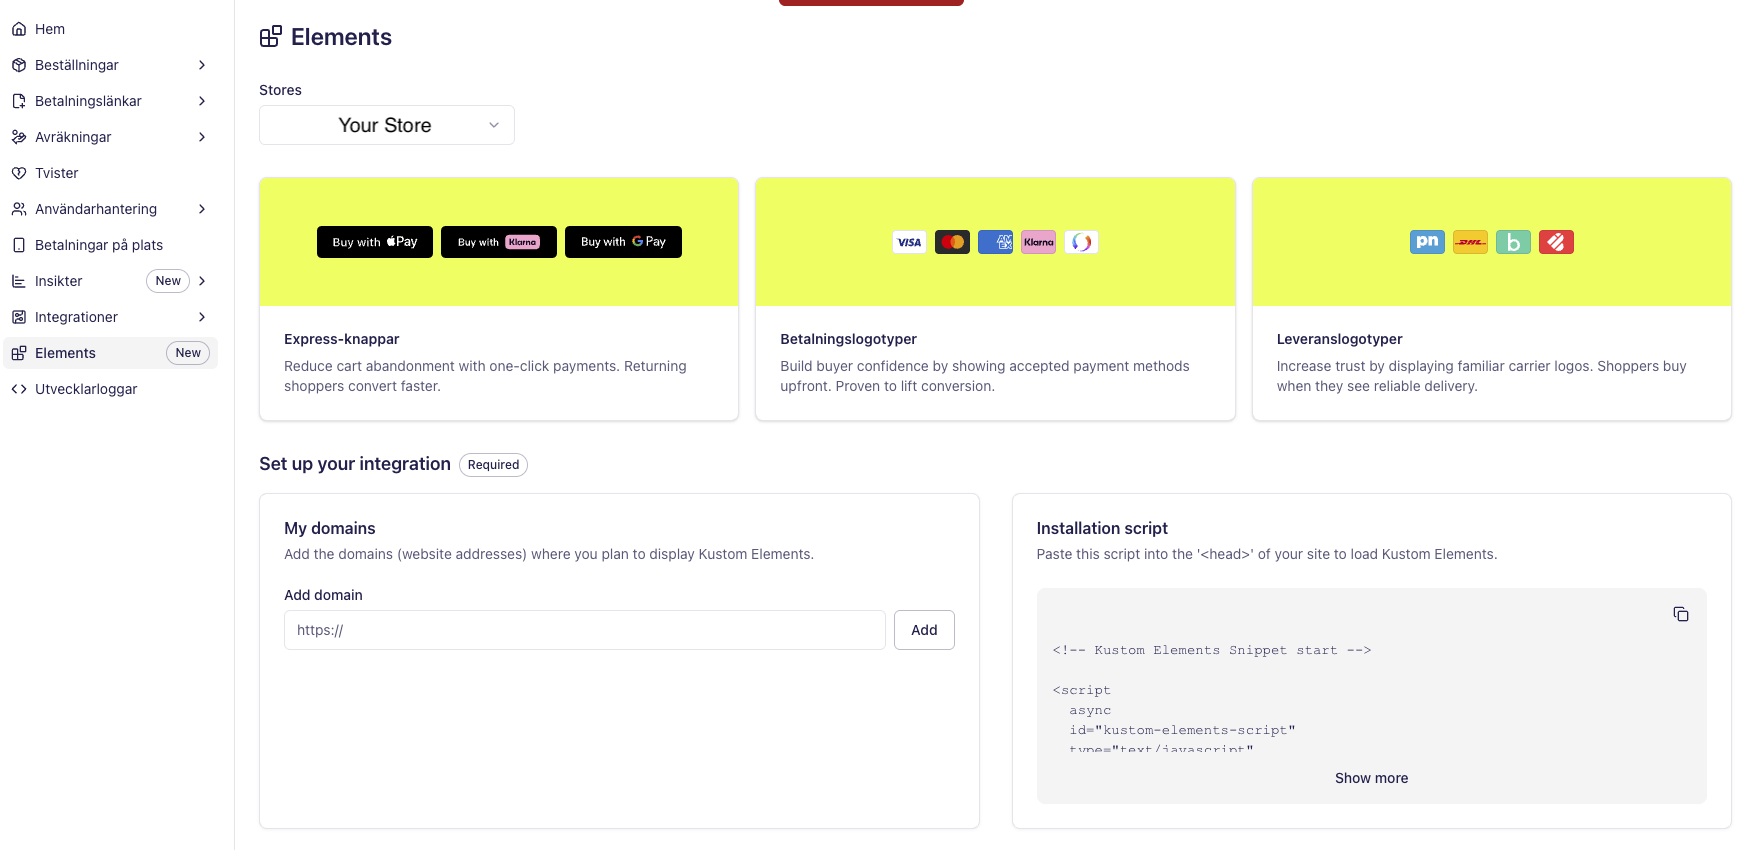
Copy the installation script or scripts (depending on how many MIDs you have) and place them as high in the <head> of your page as possible.
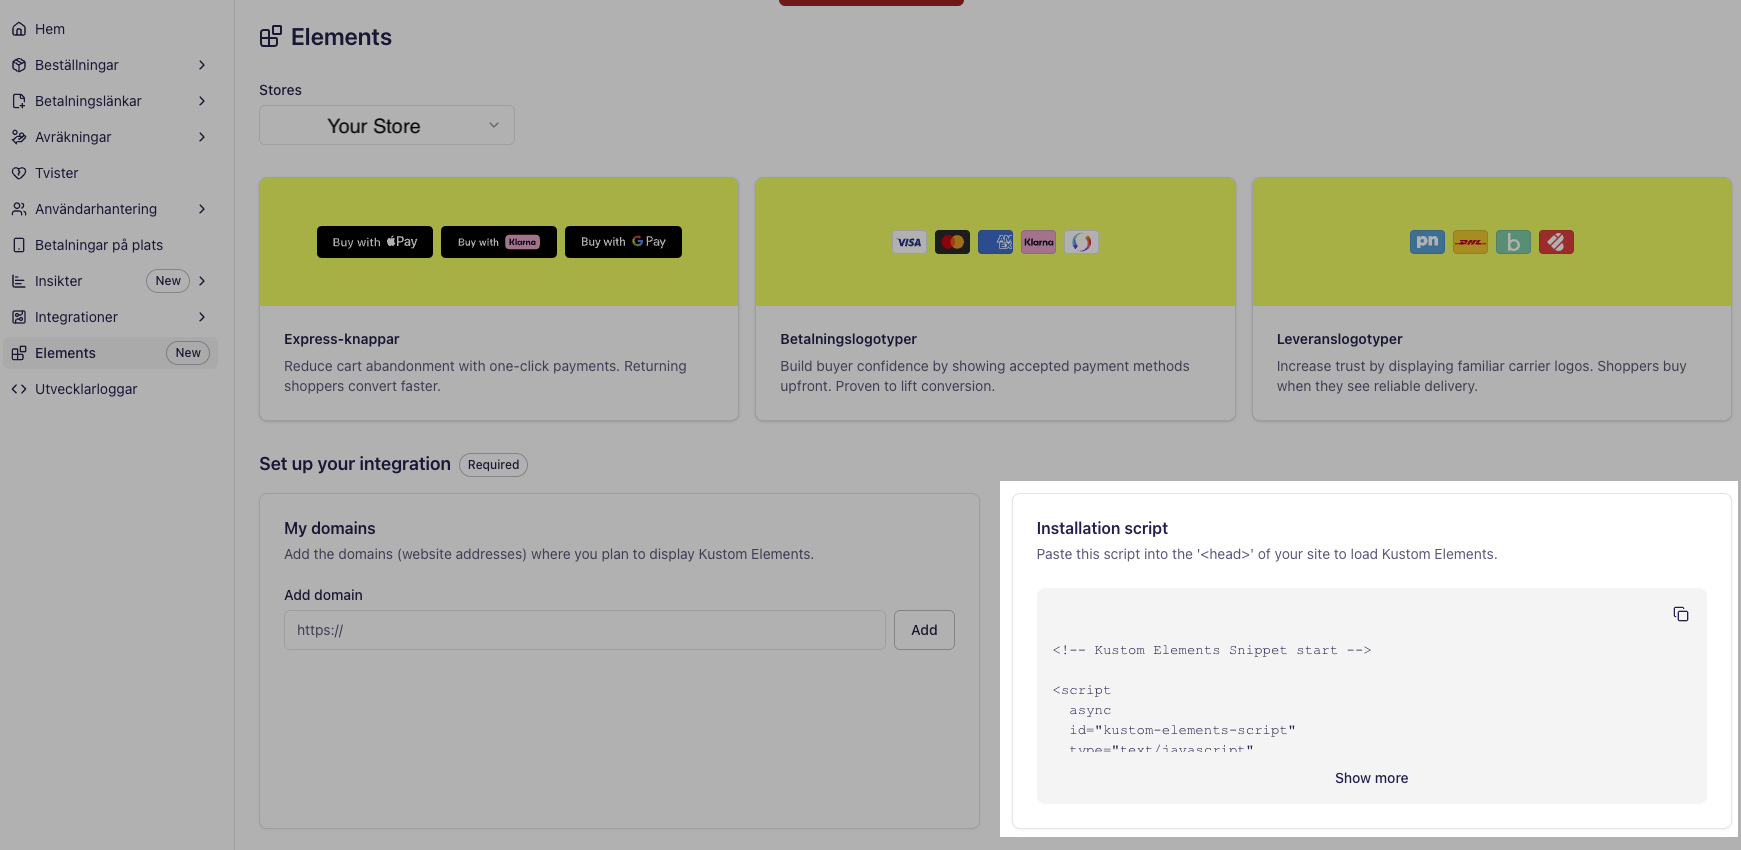
Always load the script directly from the Kustom CDN URL provided in the Portal. Do not download and re-host it, and do not route it through a proxy on your own domain — this will break the integration.
- Add each domain where On-site Elements will be used (e.g.
www.my-shop.com,checkout.my-shop.com). - Only for playground environments, you can use wildcards to allow all subdomains, for example
*.my-shop.com. - Use your Playground installation script only on test domains; use your Production script only on live domains.
Place the installation script in your site’s <head> so it loads before any element tags. Typically this means adding it to your main layout or template that wraps all pages where you use On-site Elements.
Example (do not copy this code, it is just an example, use the script you copied from the Kustom Portal):
<!DOCTYPE html>
<html>
  <head>
    <!-- Kustom Elements Snippet start -->

    <script
      async
      id="kustom-elements-script"
      type="text/javascript"
      src="https://js.live.kustom.co/kustom-elements/v1/pre-load.js"
      data-public-api-key="{{Your public API key}}"
    ></script>

    <script>
      (function (w) {
        ((window.kustomElements =
          window.kustomElements ||
          function (w, ...n) {
            return new Promise((o, i) => {
              window.kustomElements._internal.q.push({
                method: w,
                args: n,
                resolve: o,
                reject: i,
              });
            });
          }),
          (window.kustomElements._internal = window.kustomElements
            ._internal || { q: [], snippetVersion: "1.0.0" }),
          window.kustomElements.load ||
            (window.kustomElements.load = new Promise((w, n) => {
              ((window.kustomElements._internal.loadResolve = w),
                (window.kustomElements._internal.loadReject = n));
            })));
      })(window);
    </script>

    <!-- Kustom Elements Snippet end -->
  </head>
  <body>
    <!-- Your page content and Kustom Elements go here -->
  </body>
</html>Once the installation script is in place, you can add On-site Elements to your pages. See Usage for how to embed the elements.